But to give a more serious answer to that I thought I would spend some time explaining how freefall photography works, and how I use it, along with what I know how other people use their cameras in freefall.
My typical setup for freefall is video and photos, as you can see in the image below:

[Photo by Brian Genereux]
In this setup you can see the video camera on top of the helmet and the still camera (Canon Digital SLR) in the front of the helmet.
This is one of many possible configurations for my camera helmet, but this is the most common one.
The video camera gets turned on right before we climb out of the aircraft (on a typical jump, but it all depends on what we are looking for in our video) and the still camera is turned on before the helmet is put on.
To explain how I operate the still camera and why lets take a closer look at the different options for remotes:
1. Tongue switch
This is how I operate my still camera.

[Photo courtesy of Conceptus Inc]
The reason it is called a "tongue switch" is just that, because the switch is activated by pushing the red dot on the remote with your tongue.
For me personally there are two main reasons for choosing this switch (since there are other solutions out there) and the first and most important one is stability.
Pros:
- Stability: the switch is inside your mouth and all you move to take the photo is your tongue
- Control: the camera only takes a picture when you press the little button
- Safety: connected to the helmet only
Cons:
- No cons I can personally really think of.
- When you are starting off it might be a little hard to feel if you actually pressed the trigger or not, but it is just like everything else, practice makes perfect.
2. Bite switch
This switch is operated by biting down on the switch. You bite the switch in the red area, and that closes the switch and takes a photo.

[Photo courtesy of Conceptus Inc]
Pros:
- Control: the camera only takes a picture when you bite down on it
- Security: it is easy to feel when you bite down on the switch
- Safety: Connected to the helmet only
Cons:
- Stability: Since you are wearing the camera on a helmet that is fitted "like a glove" around your face, biting down on the switch moves your jaw. This could cause movement in the photos.
3. Blow switch
This switch is used by putting a small tube in your mouth that is connected to a switch that reacts to breathing / blowing into the tube. When you blow into the little tube it triggers the switch and that takes the photo.
Disclaimer: I have never used this kind of switch, and there are many freefall camera operators that use these and are VERY happy with them. Because of that I am just passing on comments from other camera flyers.
Pros:
- very accurate, and very sensitive
- all connected to the helmet only
Cons:
- a hard breath can take a bunch of photos, specially with the latest 5 to 10fps cameras.
4. handheld remote
This is a classic before the electronics became available to use small switches and cameras were used with cable release remotes. This is still being used however by some of the best skydiving photographers. In this case the remote is plugged into the camera and the cable is fed through the helmet, into the jumpsuit, through the sleeves into the cameraman's hand.
Pros:
- very accurate (remotes are being used daily by all sorts of photographers)
- easy to install and easy to buy, every camera store out there or on the internet sells many different remotes
Cons:
- you have to hold the switch in your hand, in case of an emergency, you have a remote in the hand you would be using to pull your reserve
- the helmet is "connected" by a cable that runs through your jumpsuit, in an emergency situation this could cause a problem. (Although it is more likely for the remote to come unplugged if the helmet were to fall off your head due to an entanglement or "cutaway" of the helmet)
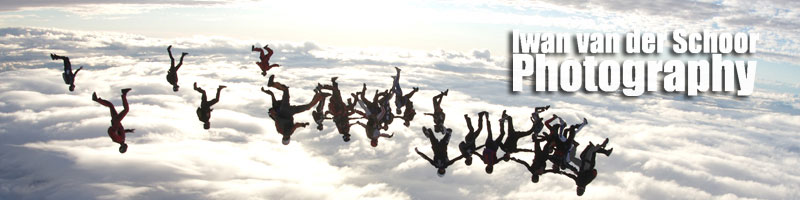
With this list, I hope I explained a bit better how photos are taken. In the next post I want to focus a bit more on how skydiving photographers "frame their shot" as from the photo at the beginning of this article you can see, we're not actually looking through the viewfinder.
More on the "eye of the freefall photographer" next time!
Happy shooting and be safe!
In closing a photo from a balloon jump at Skydive Arizona during the Holiday Boogie in 2005.

